I am in the process of making a tee-shirt quilt class available and want for my students to be able to finish the whole quilt IN CLASS. In order for us to finish the whole quilt, you will have to do your fusing at home. This is not a difficult process at all, just time consuming.
What you will need:
*1 bolt of of Pellon Fusible Stabilizer (Available at Jo-Ann's for $9.99 - look for a coupon)
Pellon Interfacing Lightweight Fusible 40 YD BOLT White
Pellon Interfacing Lightweight Fusible 40 YD BOLT White
*Tee-Shirts
*Scissors
*Iron
*Spray bottle with water
*1 yard of cotton quilting fabric (you can just use a scrap piece, this is just to protect your iron)
*An Ironing board or several towels to protect your ironing surface
~~Click on any of the photos below to view them larger~~~
**Make sure to wash all of your tee shirts thoroughly with hot water especially if they are new. Do not add any fabric softener or spray starch.**
Cutting the Shirts:
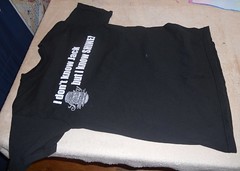
1. Lay out your Tee, and smooth it out.
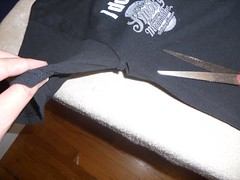
2. Make a small slit in the armpit of one of the sleeves.
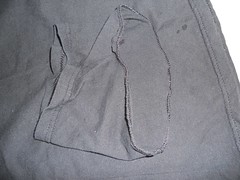
3. Stick your scissors in the slit and begin cutting - cut just INSIDE the seam until you have the whole arm part completely cut off.
4. Here you can see where the seam is cutoff WITH the arm piece of the tee.
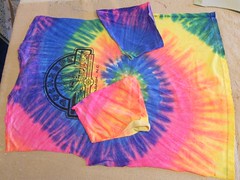
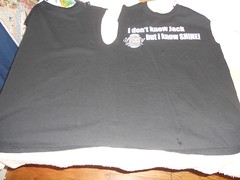
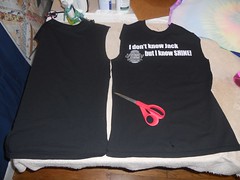
5. Repeat this step for the other Arm piece - your tee should now look like this:
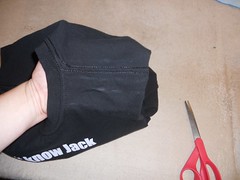
6. Pick up your shirt like this, you will now be cutting the shirt along the shoulder seam
7. Cut along Both shoulder seams, it doesn't matter which side the seam is on - you can even cut those off if you wish.
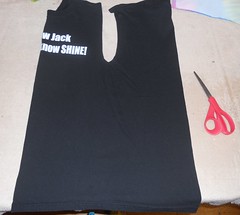
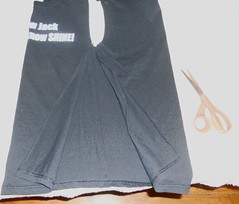
8. Carefully fold your shirt in half lengthwise to find the side seam. If there is no side seam try to just eyeball it.
9. Cut along the side seam and repeat for the opposite side.
Fusing the Shirts:
~~You will only be using the side of the shirt that has a logo on it. Sometimes there will be a logo on the front AND back, in that case you will fuse BOTH sides. ~~
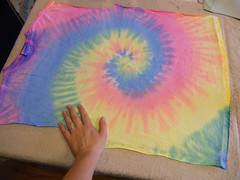
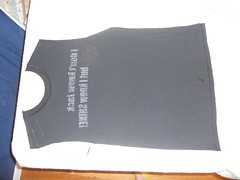
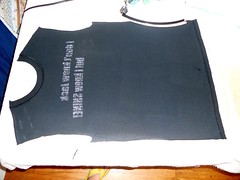
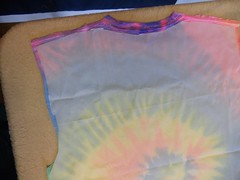
1. Lay out one of your tee shirts, Right-side down, WRONG side facing you. Smooth out your shirt with your hands.
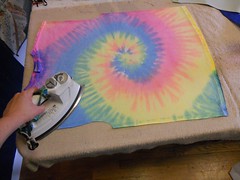
2. Get out any wrinkles by PRESSING with your iron on medium-high heat.
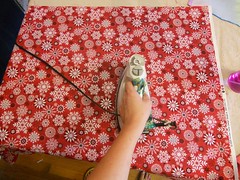
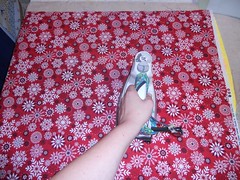
***You will not be IRONING at all, what you are going to be doing is PRESSING. Start in the center of your shirt and press down slightly with your iron. Press for a few seconds and then pick your iron all the way up, and lay it down next to the indention you just left. You will be able to see the indention the iron made previously, and so you will be able to see where you have already pressed and what has NOT been pressed. Please try to avoid ironing, (sliding the iron back and forth over your tee shirt) we are working with knits which are easily stretched. Once the woven stabilizer is fused, it will keep the tee shirt from stretching. If the shirt is already stretched when the stabilizer is fused, it will be stretched permanently. . . which is not a good look! ;c)
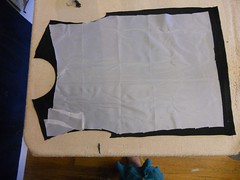
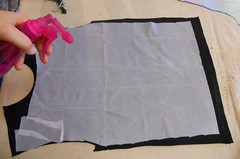
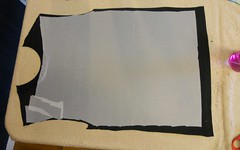
3. Place the stabilizer *rough* side down on your tee shirt. Cut the stabilizer to fit just inside your tee-shirt, because you don't want any fusible on your ironing surface ;c)
4. Spray a generous amount of water over top of the stabilizer. You want it damp but not soaking wet. Remember that if it doesn't stick the first time, you can just go over it again.
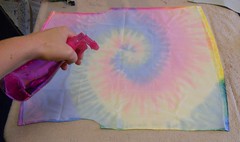
5. Lay a piece of cotton quilting fabric over top of your work, wrong side down. Press your fabric like in step 2 above. This time you will want to use medium-high heat, and press each section for at least 5 seconds.
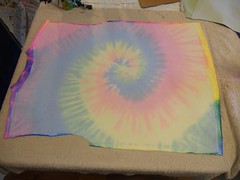
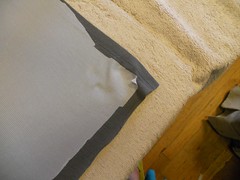
6. Now your piece should be nice and smooth and look a little something like this:
*BTW, you can use scraps of stabilizer if your piece doesn't fit the whole shirt. Just overlap the scraps just a bit, and it will be just fine.
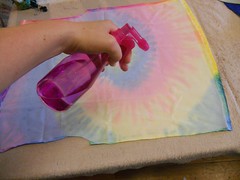
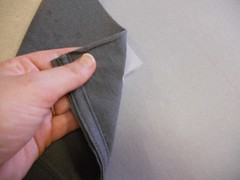
7. Check all corners of your stabilizer to make sure they are all thoroughly fused. Pull gently on the stabilizer - if it comes off easily like this - then you need to re-fuse. Spray a little water, cover and press again.
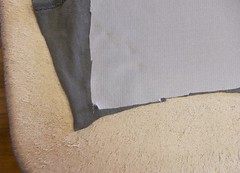
8. If your stabilizer doesn't come off - or tries to shred like this - you are finished.
If you have any questions - feel free to email me - or ask in the comments section, I will respond ASAP.





could you not cut stabilizer the size of square you want and stabilize only that portion of the Tee Shirt?
ReplyDeleteYou should fuse BEFORE you cut. . The cutting process itself can stretch the knits. And it's much easier to cut a stabilized knit.
ReplyDeleteSince I've made this tutorial, I stopped fusing the WHOLE shirt. I measure the part I'm going to cut out on the shirt (the logo area). .and fuse just beyond that area. . about an inch or so. That way I don't waste any of the stabilizer.
It's relatively cheap if you get it on sale. . BUT. . it can really add up when you make as many T-shirt quilts as I do! ;c) GOOD LUCK and HAVE FUN